We have many posts on ways to stay organized—some are really helpful, like using a ladder so you don’t run out of pages—but others are more like guides or suggestions. Everyone approaches making a yearbook differently, and we’re here to share some of our knowledge and the best ideas we’ve learned over the years.
Through the posts and tools we’ve shared, you can see that making a yearbook can be well-organized, planned, and thought out. But it can also be spontaneous, unplanned, and even a bit messy.
This post is for that kind of yearbook—the kind I typically make. If this is your first time making a yearbook or if you just need to get started—then JUMP IN! Just create!
A lot of what we’ve written in previous posts are things we’ve learned, or, in my case, it’s me overthinking how to “instruct” someone on making a yearbook. But honestly, when I was making yearbooks, I was winging it every year. I wasn’t doing a lot of planning. I wasn’t learning all the terms until I had to. I was just jumping in, excited to explore new ideas and recapture that feeling of watching kids see the book for the first time at the end of the year. (I LOVE that part—both their excitement and all the compliments from parents!) There’s definitely room for this kind of yearbook too—I made around 20 of them this way!
I would start with a vision, then jump in to figure out how to make it happen. That’s why, most years, I didn’t even look at the startup guide sent by the yearbook company. I’d have an idea for an effect or layout, and I’d spend hours watching YouTube videos and trying things out. Sometimes I’d learn something new at the high school yearbook conference (even though I was doing elementary yearbooks!) or discover a feature in the yearbook software that I knew could help me create something great. And, truth be told, I’d procrastinate because, well, life with kids, family, work, and everything else meant that things didn’t always get done in the “right” order. I was just so excited to create that I’d often overlook the planning and organization part.
Even though I didn’t have the planning part down, I’d still think about the yearbook during the year—okay, mostly just over the summer.
I’d keep a few theme ideas in mind and look out for trends that fit with them. I’d jot down notes about themes and what the whole book could include, and I’d run ideas by my “yearbook friend” (see previous post!). Usually, it would be a late-night text when I thought I was onto something. Only when it came time to submit the cover—usually the first thing due—would I settle on a theme. I’d choose the one I felt I could do the most with and the one I thought would resonate with the kids.
Before deciding on a theme, some other part of the yearbook would pop into my mind. Usually, a few days before school started, I’d remember I needed first-day-of-school pictures: kids waiting for the bus, getting off at school. So, I’d jump on social media and ask for them. Sometimes, I’d even put my own kids on the bus and race to school to get photos myself. (I loved seeing how excited the kids were to be back and see their friends!)
Every time, the theme would develop as I worked through different elements of the book. Part of that was because I was learning new skills in Photoshop, Illustrator, and the yearbook software from YouTube videos—some useful for the current book, some not so helpful until the next book, and some were just rabbit holes.
Keep in mind, as I’ve mentioned many times before, I didn’t have a class or group to work with. It was just me making all the choices. And since I was creating for elementary school students, a lot of the elements that are important for older yearbooks weren’t part of mine. But that doesn’t mean you can’t jump in and start creating without a plan—the plan will evolve as you work through the yearbook.
The biggest thing I want to say in this post is: just do it! Just create! If you’re the type who likes to be organized, go for it. But if you’re like me and love the creative part most, don’t wait for everything to be perfectly organized—it’ll just delay creating the book. Sometimes, the organization comes while you work through it.
REMINDERS:
- Don’t overthink the planning! Get a basic plan together—start with how many pages you need and when it’s due.
- Don’t forget to reach out to others for photos—teachers, parents, staff. Give them clear instructions on how to send them. Social media is your friend!
- Don’t worry about creating a style guide right away—you can figure out fonts and typefaces later. (Honestly, I was creating my own style guide without realizing it!)
- Don’t feel pressured to pick a theme right away—want just colors or an abstract theme? Go for it! It will come together.
- Not sure what theme to choose? Google yearbook themes and get inspired by what others have done.
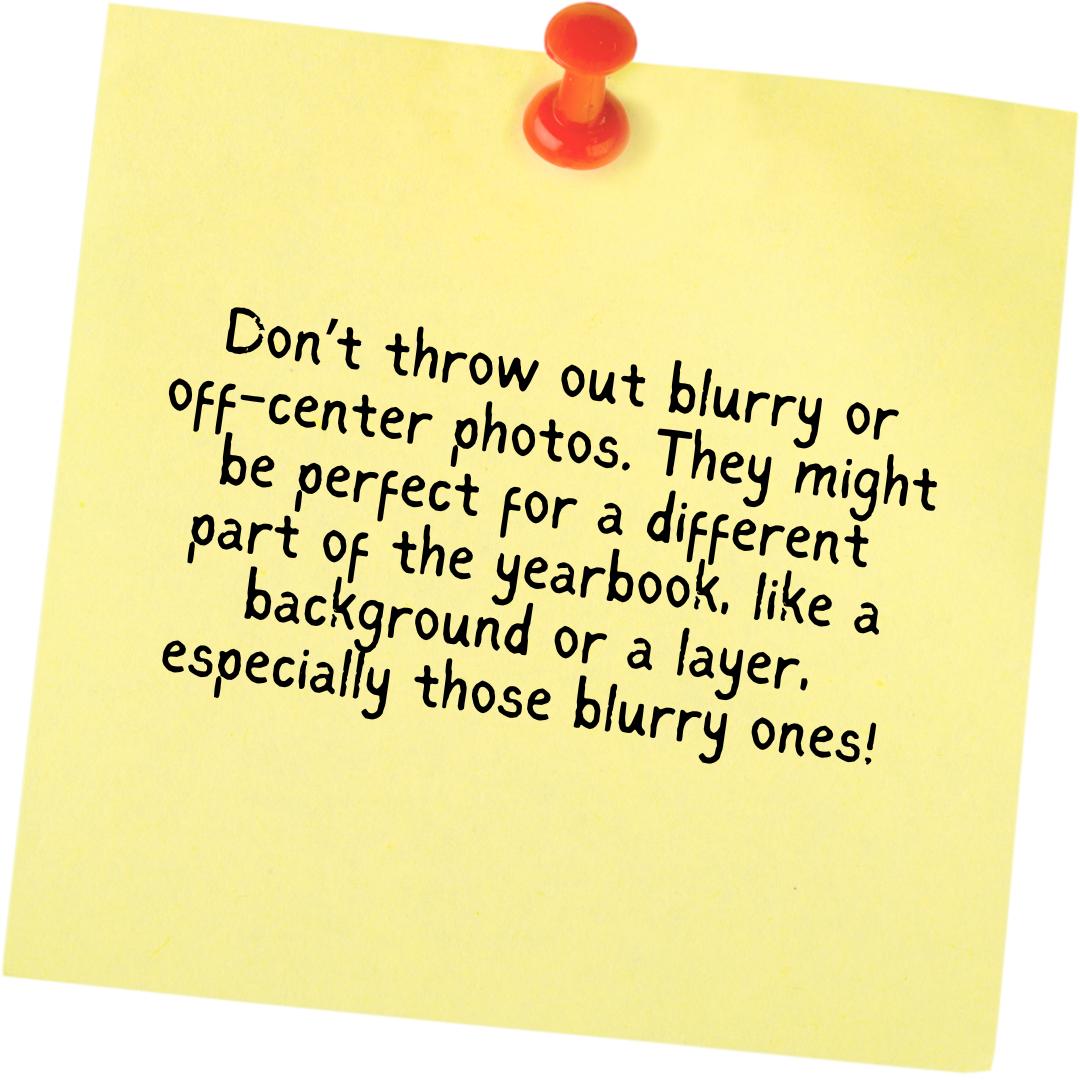
- Don’t wait for the perfect photo—take tons of them so you have options.
- Do reach out to your yearbook rep for ideas and support. In my experience, they’ve always been available and full of suggestions when I was stuck.
- Do leave space for creativity! Try new things—different fonts, colors, and layouts.